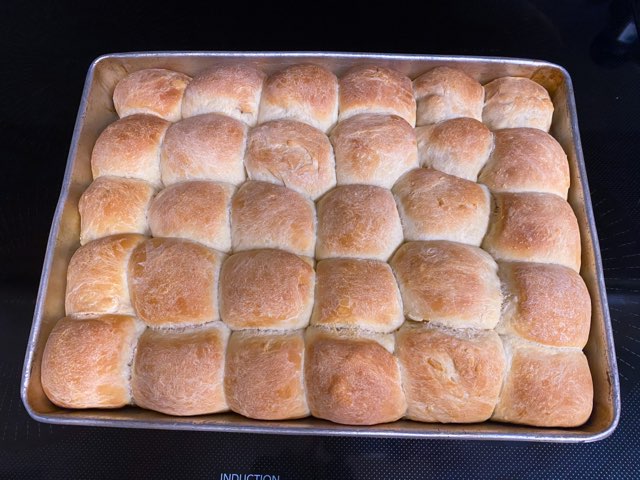
Best Ever Dinner Rolls

These gems are the traditional dinner roll of your dreams! The perfect texture and flavor. I typically make a batch and freeze the rolls we don’t eat right away for a later meal. They hold up well in the freezer, and reheat easily. This is my go-to item to take to big holiday gatherings! This recipe only needs to rise for about an hour so it does not take too long to have a batch hot out of the oven!
Ingredients:
- 10-11 cups of All Purpose Flour
- 1/2 Cup Sugar
- 2 1/4 Teaspoons Active Dry Yeast
- 2 Teaspoons Salt
- 2 1/2 Cups Water
- 1 Cup Milk (Whole is the only milk I ever have, but you can try 2% if you have it)
- 1 Stick Butter (1/2 Cup) cut into 1/4 inch pieces
- 2 Large Eggs
First, put a dough hook on your stand mixer. I assume you can hand mix these, but it would be quite the chore!! A Kitchen Aid stand mixer will save your arm muscles!
Place the milk, water and butter pieces in a microwave safe bowl and heat until warm. You want it warm enough to activate the yeast without burning them. Think of a nice warm bath for the little “yeasties”.
In the Mixer bowl stir together only 4 cups of flour (you’ll use the rest in a minute), salt, sugar, and yeast. Add in eggs then SLOWLY add the warm liquid mixture. Be sure to scrape the sides and bottom of the bowl a few times as it mixes.
Once mixed, add 1 cup of flour at a time to the mix. Do this slowly as the mixer hook may try to kick some flour back out at you. As you add each cup of flour, the dough will grow and grow (mine almost outgrows my mixing bowl each time) so be careful. Once the dough is no longer “sticky” it is ready to knead (usually takes 10-11 cups of flour total).
Knead the dough for 10 minutes, either by hand or by continuing to use the dough hook on your mixer. Then place in a greased bowl, covered with a clean dish towel and let rise for 1 hour (or until doubled in size). A warm place will help it rise. I typically place near my wood stove and let the heat do the work!

Once the dough has risen, using greased hands form into roll shapes. Keep in mind that they will at least double in size! My first batch I had formed way too big and they raised into giants during baking! Now I typically form them into the size of a golf ball, and they rise into a normal roll size. Place into a greased pan just touching each other.
Allow to rise once again for 1 hour.
Preheat Oven to 350F.
Brush the tops of each roll with a little melted butter (it creates the perfect golden color!). Bake at 350F for 30 minutes. When they are done, place the pan on a cooling rack and serve once they cooled.

They store really well in the freezer in gallon freezer Zipock bags, just allow to defrost and then warm in the microwave or oven. They turn out great!


